Saving Weight and Adding Style with Anvil Auto Carbon Fiber
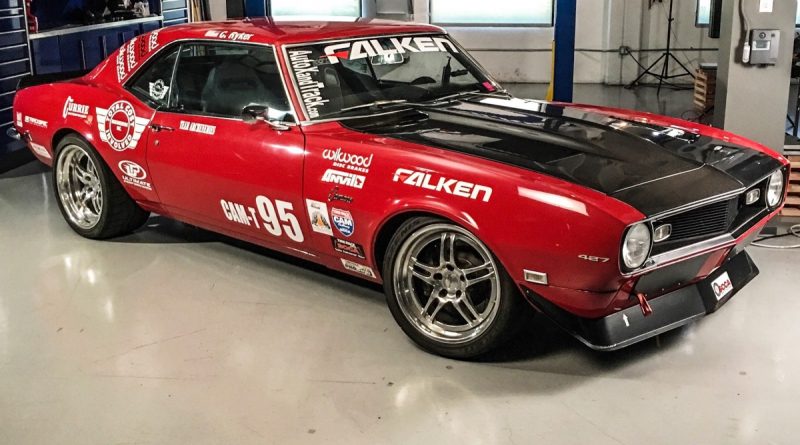
What do you think about as you fall asleep at night? If you are pro touring fanatic, or an autocross and track junkie like me, then all to often you probably think about the next upgrade. Two recurring themes in my day dreaming have been saving weight and improving my Design & Engineering score in the Optima Ultimate Street Car series. Enter Anvil Auto and their lightweight but functional carbon fiber products for early muscle cars. In this article we install a slew of Anvil’s parts on the AutoXandTrack 1968 Camaro. One thing I haven’t seen done anywhere else… We will be comparing the Anvil Auto weight savings for each carbon fiber piece against the steel pieces we take off.
The Parts List
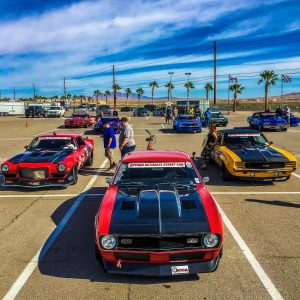
We didn’t buy everything in the Anvil Auto catalog but we got our hands on the parts that should provide the biggest weight savings as well as enhancing the aesthetics of the AutoXandTrack Camaro. As the Camaro is a bright red color I wanted to compliment the look with Anvil’s glossy finish. They offer a satin finish on everything as well as the parts can be scuff sanded and painted. This includes the following:
- Carbon fiber/fiberglass header panel
- Carbon fiber/fiberglass hood
- Carbon fiber/fiberglass cowl panel
- Carbon fiber/fiberglass trunk lid (or deck lid)
- Carbon fiber/fiberglass spoiler
- Carbon fiber/fiberglass inner fender wells
For those with a 69 Camaro, Anvil also makes outer front fenders and front and rear bumpers that could help you save some serious weight and enhance the look of your car.
Anvil Auto Weight Savings
This is the real reason you are reading this article right? The below list is ranked in order of biggest to smallest weight savings.
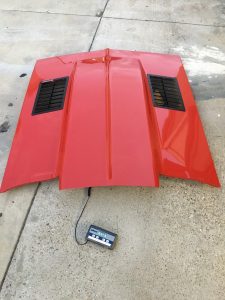
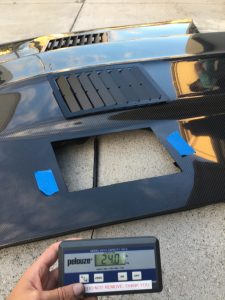
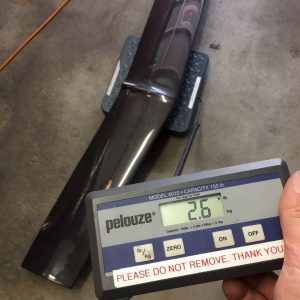
Anvil Auto Carbon Fiber Hood – weight savings of 32.4 lbs
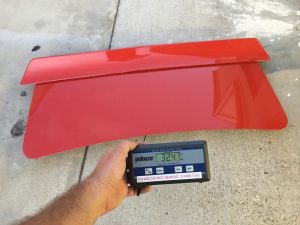
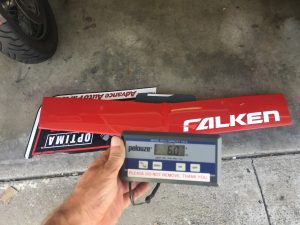
Anvil Auto Carbon Fiber Deck Lid & Spoiler – weight savings of 17.4 lbs
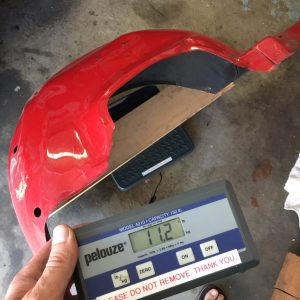
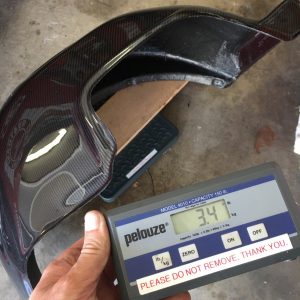
Anvil Auto Carbon Fiber Deep Tub Inner Fender Wells – weight savings of 15.6 lbs (total for both)
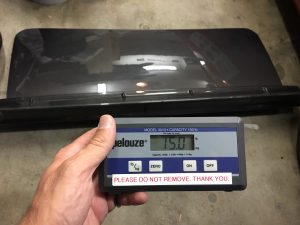
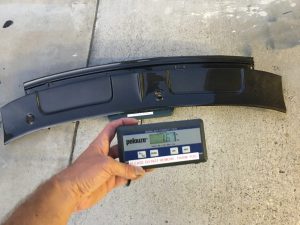
Anvil Auto Carbon Fiber Header Panel – weight savings of 3.4 lbs
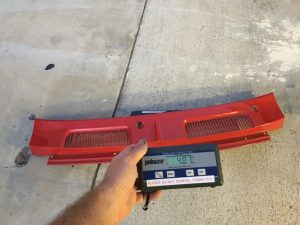
Anvil Auto Carbon Fiber Cowl Panel – weight savings of 3.2 lbs.
In total this adds up to about 70 lbs off the Camaro with the biggest savings coming from the front of the car! Another added benefit is that since the parts lose weight higher up on the car, they lower the center of gravity.
Anvil Auto Carbon Fiber Installation and Fitment
One of the things you hear in the automotive aftermarket composites world, be it fiberglass or carbon fiber, is that the parts take a lot of work to get them to fit anywhere as good as steel. And that they move around after installation. As I don’t do body work, this was a big concern for me.
Everything except the front header panel bolted right on without issue.
Anvil Hood
The hood was also a bolt on deal but I would offer two tips. First, ensure you run the rubber bumpers in your fenders that support the hood about halfway down. Second, I would not run springs or gas shocks right away. Especially, if you compete with the car. In regular street driving I saw no issues.
However, when autocrossing the engine compartment gets extremely hot and doesn’t have sustained speeds to keep fresh air coming through such as on the road course. Due to the extreme heat generated in these circumstances, the arc of the hood can move around. If you have hood springs it may cause a slight bow in the middle of the hood. And if you have left of the hood springs and the rubber bumpers then the hood may flatten out slightly. Following my tips will avoid either issue.
Anvil tells me they are currently exploring producing hoods with carbon fiber prepreg and an autoclave which would go a long ways towards eliminating this concern. I expect that once my hood has heat cycled sufficiently it will be less susceptible to movement. Anvil Auto is also designing their own carbon fiber hood hinges specifically for their hoods. These will not only be super light but help keep the shape of the composite hoods.
Anvil Cowl, Trunk & Spoiler
For the trunk, spoiler, and cowl panel the only thing I did was bolt them on and throw a coat of wax on the parts. They fit great good right out of the box.
Anvil Inner Fender Wells
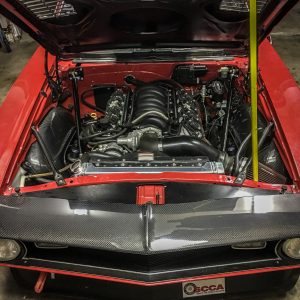
The inner wheel wells are the most labor intensive part to install. Practically, everything else in Anvil’s 67-68 Camaro catalog could be installed in the time it takes to swap out a single inner fender well. Assuming you remove the outer fenders at the same time, which I did. The good news is that the fit and finish on these parts were especially nice and really added a nice touch to the engine compartment.
Its hard to capture it in pics but these tubs add a significant amount of additional clearance from the outside end of the tire and the first ~3 inches in. This is a common rub spot on 67/68 Camaros. They also add some modest room along the inside edge of the tire. I run 315/30/18 front tires with significant negative camber and the tires were rubbing on the inside enough to start to discolor the paint from heat. So far the Anvil fenders don’t rub.
Because, I trimmed and rolled my fender lips I don’t use the bolts that go alone the inner and outer fender edge and can’t speak to the inner fender fitment in this area. One other minor fitment issue is that there are no predrilled holes where the inner fender bolts to the core support. I chose to leave those bolts out.
If you already have your car apart, then this would be the best time to think about using the inner fenders (and outer if you have a 69 Camaro or 70-73 Camaro).
Anvil Header Panel
The finish on this panel is on par with everything else I got from Anvil. Fitment was a bit more challenging. It didn’t require any glassing or anything extreme. And now that it’s on the car it looks great.
The most minor issue, is that all of the mounting holes required chasing with a drill bit. This is such a minor issue I almost didn’t want to include it in the article. But it will save you time if you chase the holes with a drill bit the next size up from the bolt you are using. I’d also test fit the upper grill trim piece to ensure the holes all line up. It sucks to get the panel bolted into place and try to add the grill trim and find out you need to drill a hole or two out more. Ask me how I know lol.
The toughest spot was the area where the hood latch bolts the back of the header panel. It just in’t recessed to the same degree as the steel part I removed. To overcome this I ground off about 1/4″ of the mounting area from a total thickness of about 1/2″. And I also bent my hood latch plate a bit.
This may sound like a lot, but if shade tree mechanic like myself could do it anyone can install this part. Further, from discussions with Anvil Auto, they have since switched molds on this part and so they expect future header panels to be easier to install.
Overall Thoughts
As we will cover in our next article, the 2018 has been a fantastic year for the AutoXandTrack 1968 Camaro. We have more wins at premier events than any other year. A significant contributing factor to this year’s success was the installation of the Anvil Auto Carbon Fiber parts. They met both objectives of reducing weight off the car and upping our D&E game for Optima’s Search for the Ultimate Street Car. The parts were easy to install and looked great right out of the box.
Some of the products described in this article were provided at discounted prices or free as part of the sponsorship of the AutoXandTrack Camaro.

Curious what the cost per pound of weight savings is?
Good question. Some parts offer more bang for the buck savings than others. The hood is the best. But I’m afraid to add it all up lol. You can check the Anvil Auto prices on their site.
$69.92 per pound of savings.
Hmm not the cheapest weight loss. I’m also going to do an article on some of the other steps I took to save weight on the car. Some of it is just time to remove stuff 🙂
Very nice.
What does it weigh?
What does what weigh? The whole car is a little over 3,200 lbs to stay legal for Optima Ultimate Street Car which has a minimum weight without driver of 3,200 lbs. As I recall, before adding all of the Anvil Auto carbon fiber pieces the car was over 3,300 lbs.
CAM-T is 3000 lbs, is that possible?
Any CAM-S cars down to 2500 lbs?
Beautiful car, looks like a whole lot of fun.